The Raspberry Pi 4 packs an amazingly inexpensive computer onto a credit card-footprint board. However, the stock Raspberry Pi 4 overheats during normal use and throttles its own performance. When 219 Design started working with the Pi 4 (for live video portals between offices), we quickly needed our Pis cooled, so we designed a Raspberry Pi 3D printed case. We’re not the only ones experiencing this. The blogosphere is ripe with descriptions of Pis overheating, see these articles:
- Heat sink needed – The Register
- Too hot to use enclosed – Martin Rowan
- The Raspberry Pi 4 needs a fan – Jeff Geerling
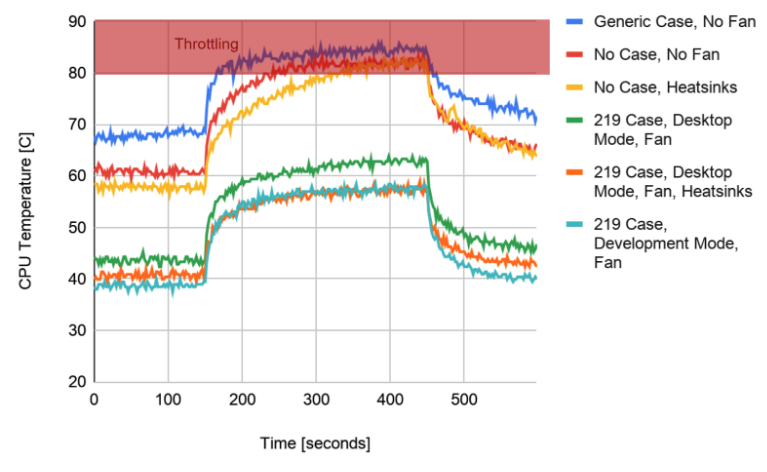
To quantify the issue, we performed stress tests on the CPU (Central Processing Unit) and GPU (Graphics Processing Unit). To max out the CPU, we used a script called Stressberry from pypi.org and Temp_test from Explaining Computers. To max out the GPU we used OpenGL 2.1 Test from Geeks3d and Open GL’s Shader demo. We then ran these stress tests while measuring the CPU temperature from Pi 4’s built-in temperature sensor and while measuring the GPU’s frames per second.
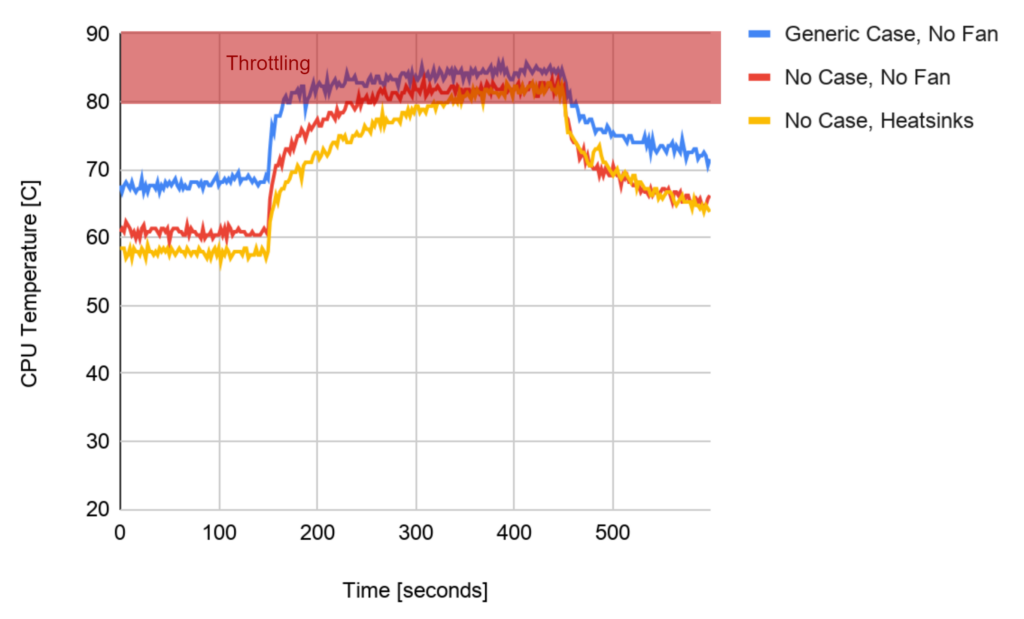
As the above figure shows, the stock Pi 4 will heat into throttling even with heat sinks connected to the CPU and GPU. In order to reach full performance from our Pi 4s, we made a case with a fan.
3D Printed Case
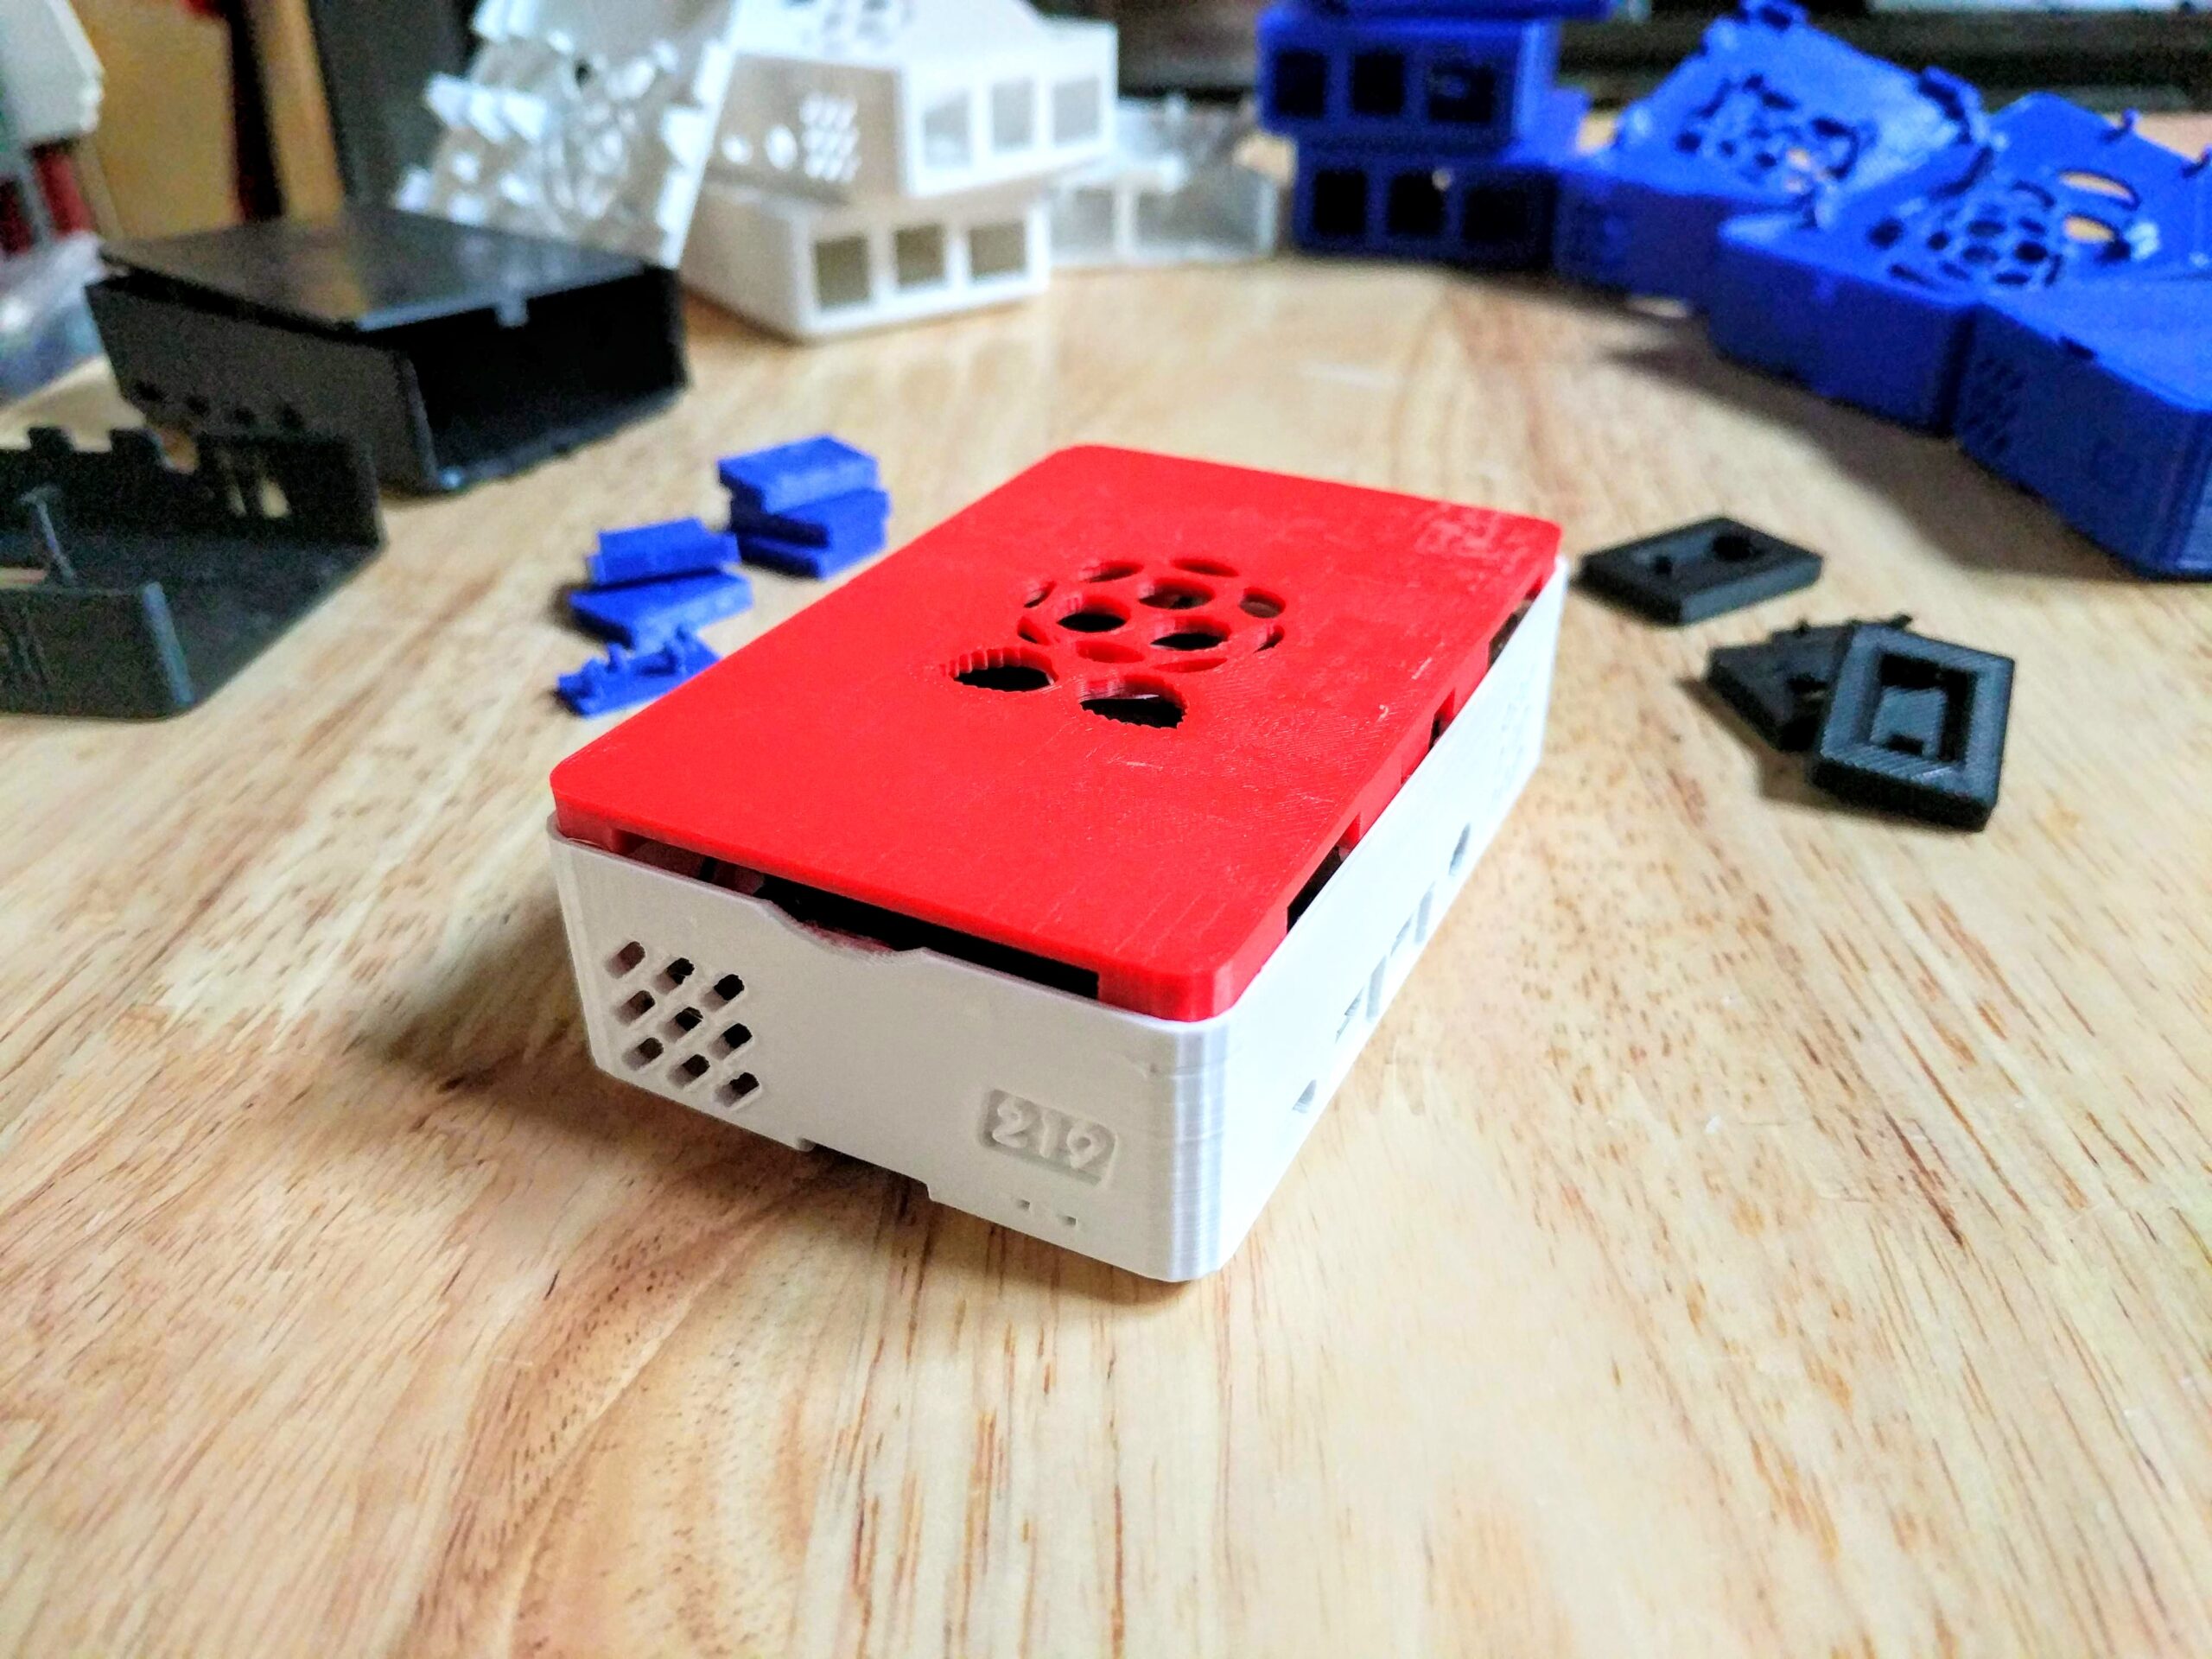
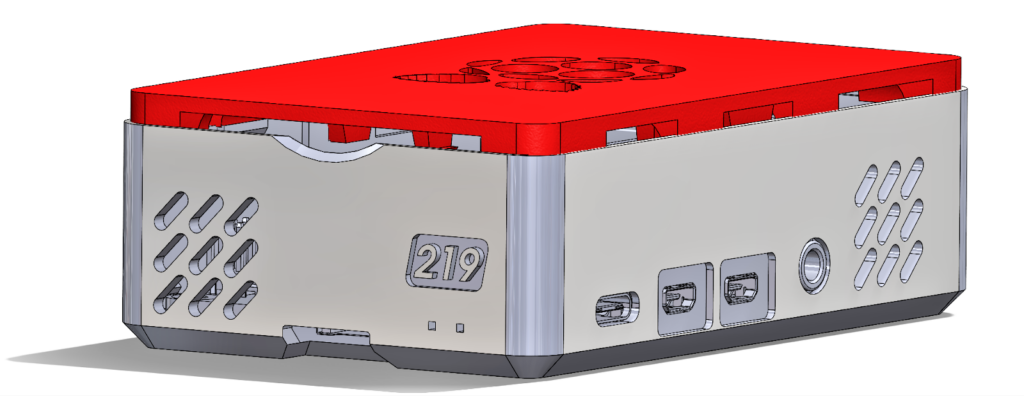
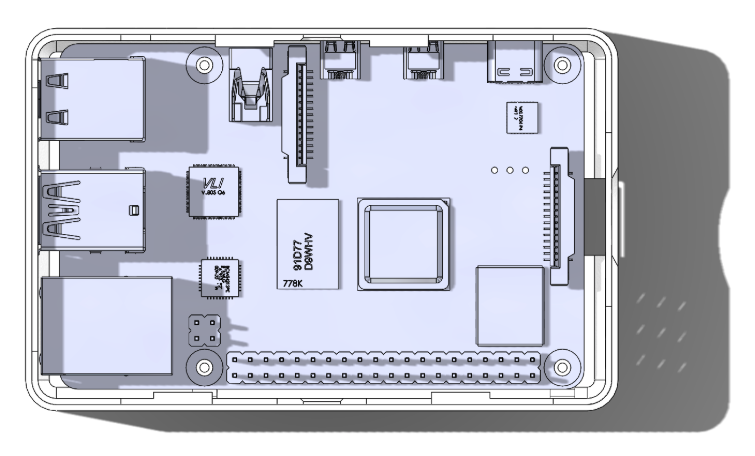
Across all disciplines, 219 Design focuses on rapid feedback loops, particularly in the beginning of a design process. For this case, we prototyped using a MakerGear M3 3D printer. Although these prototypes lack a polished finish, it was well worth the speed of design iteration. We designed the following Raspberry Pi 3D Printed case which is available to the public for free download.
Materials and Downloads
- 3D Drawings of the case are accessible here:
- No access to a 3D printer? Try ordering from shapeways.
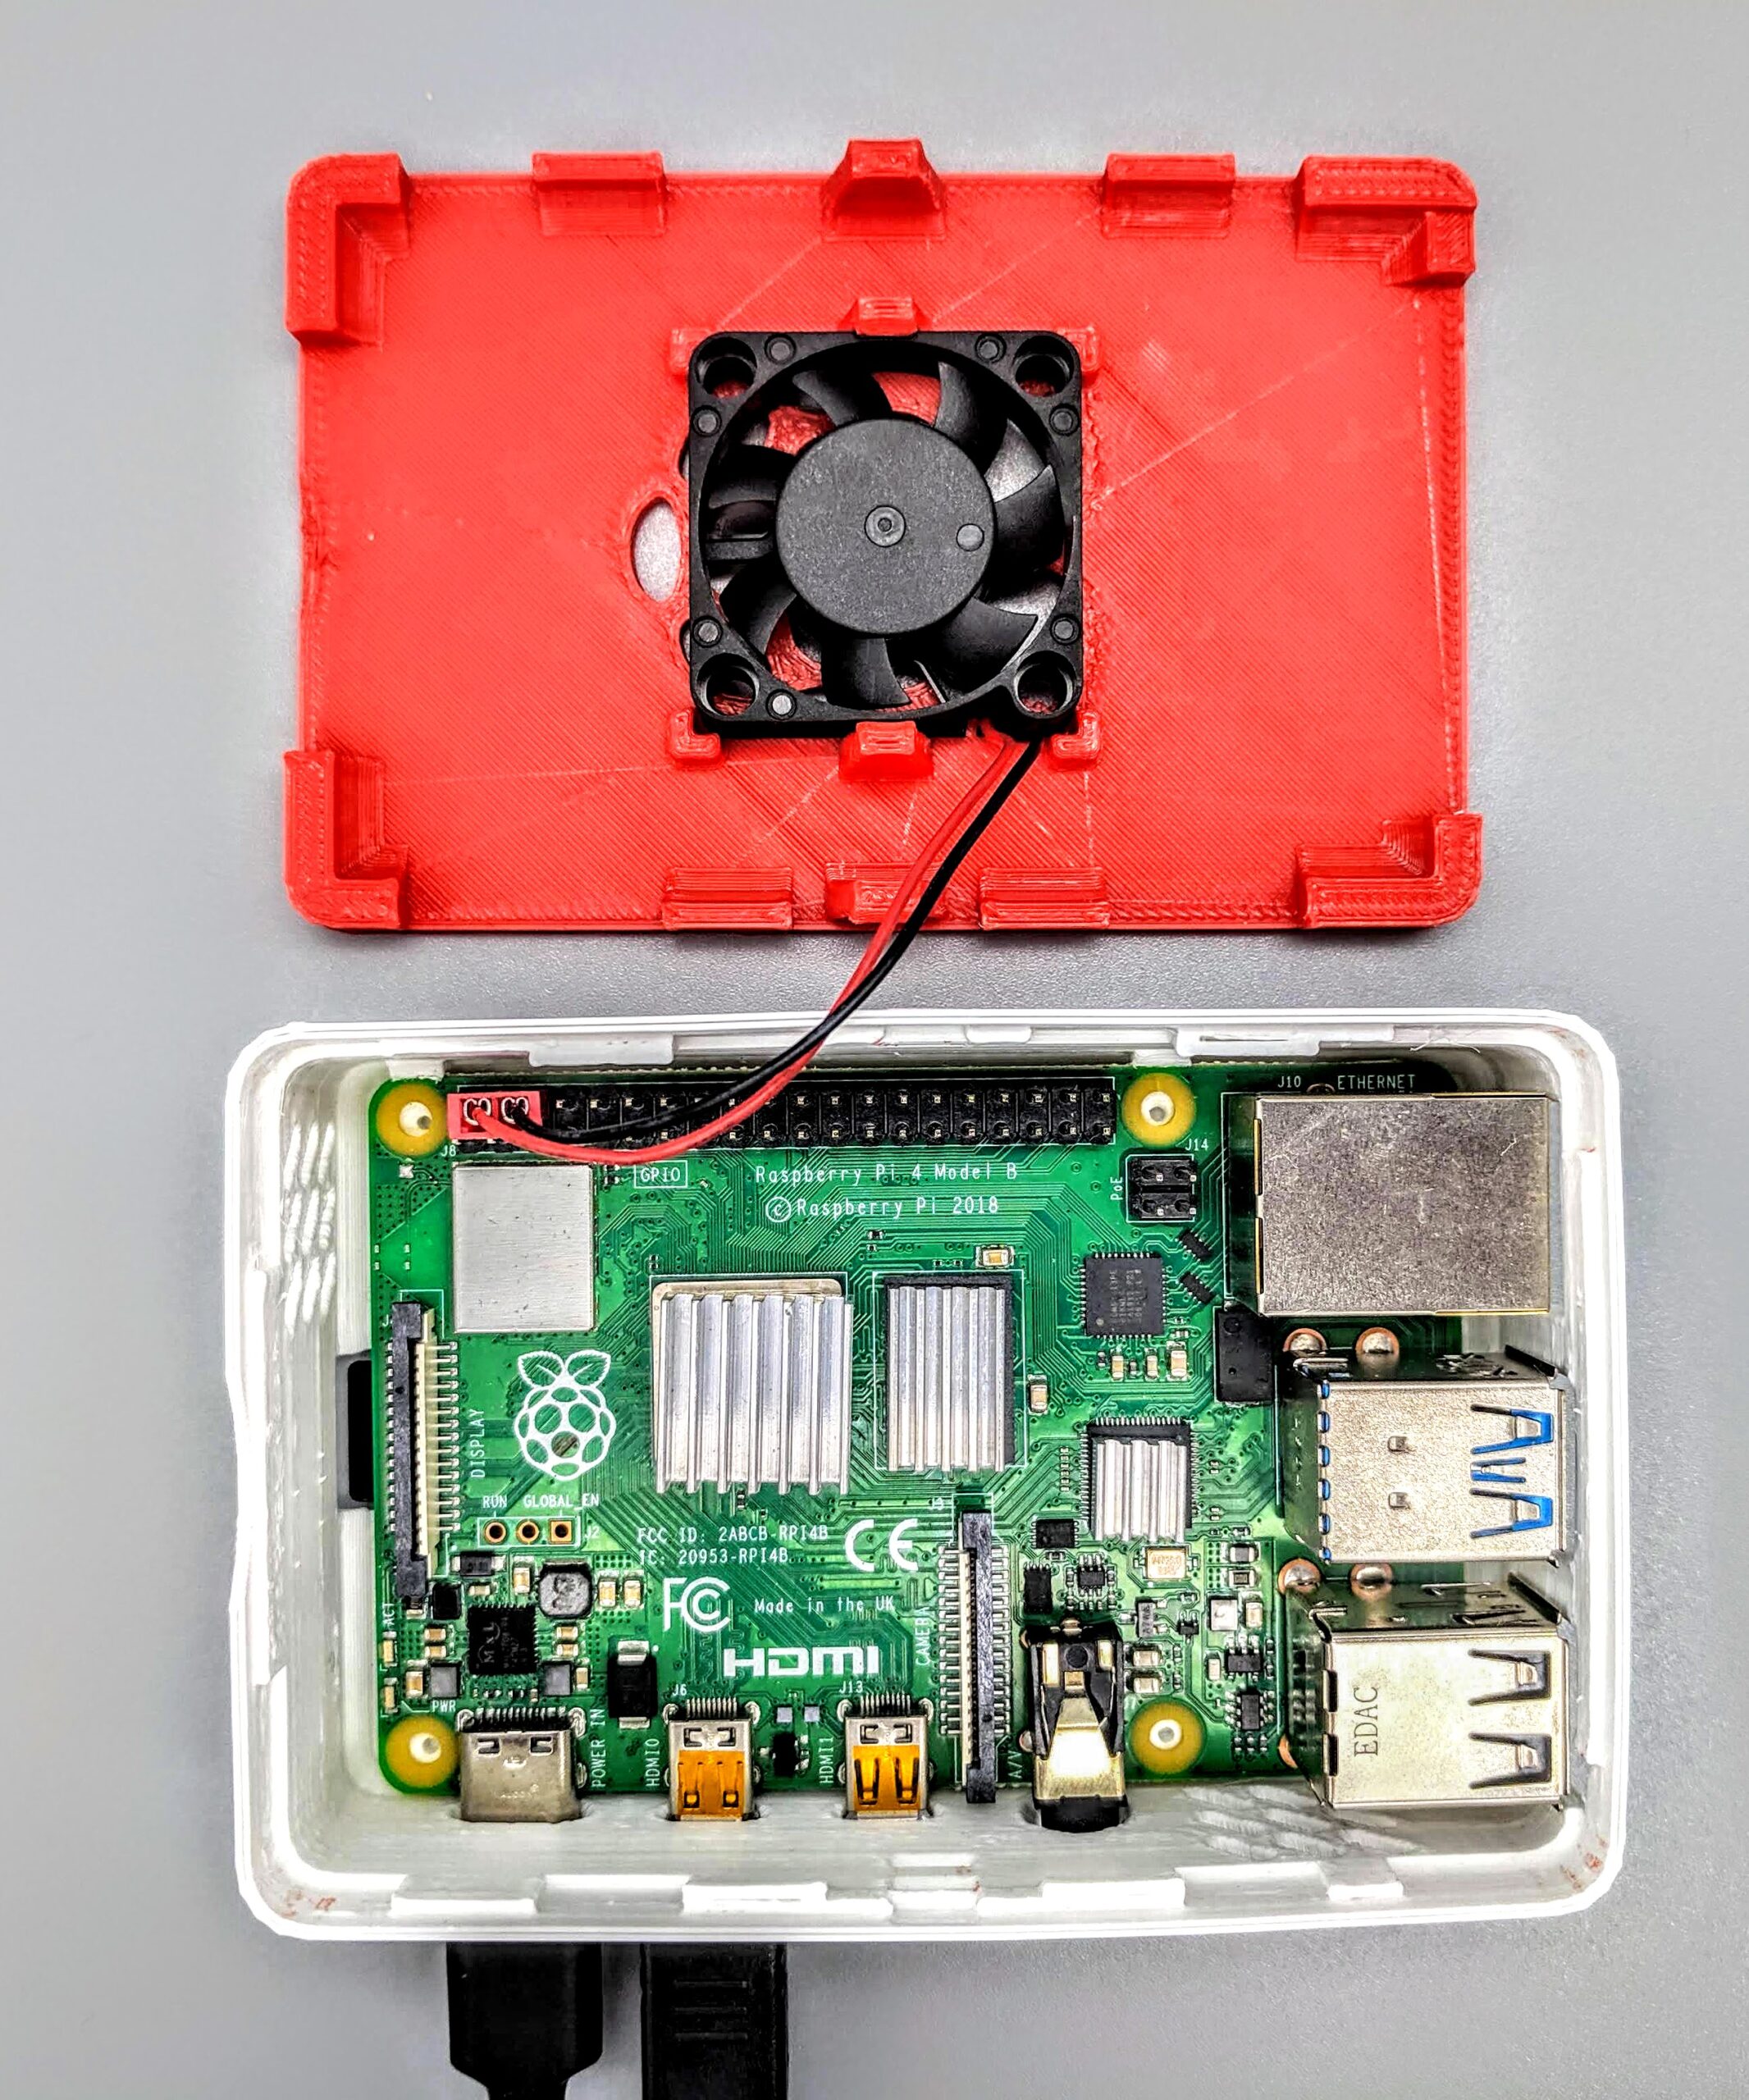
- This case fits a 30mm Pi fan, available for $3.50 at the time of publishing from Adafruit.
- It is slightly better to push air onto the CPU rather than pull out exhaust, as demonstrated by Plukas.
- (optional) If you want to secure the board to the case with more than snaps, compatible screws are available at McMaster-Carr.
Feature: Dual Mode
Our case is designed for two modes.
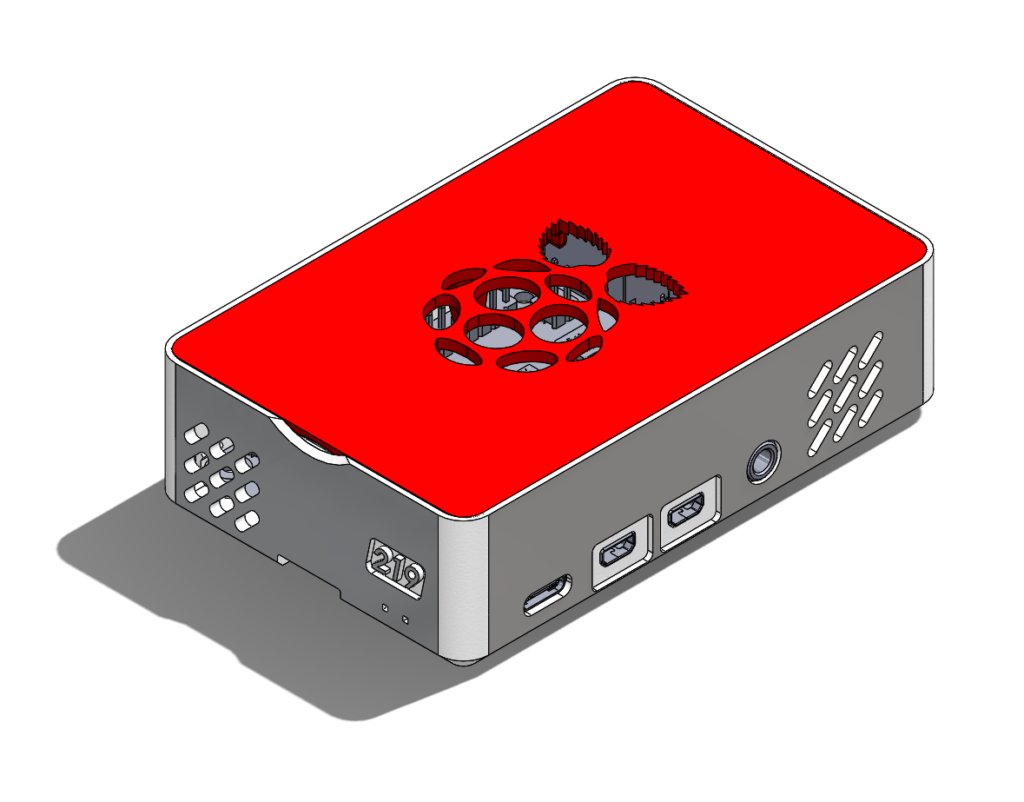
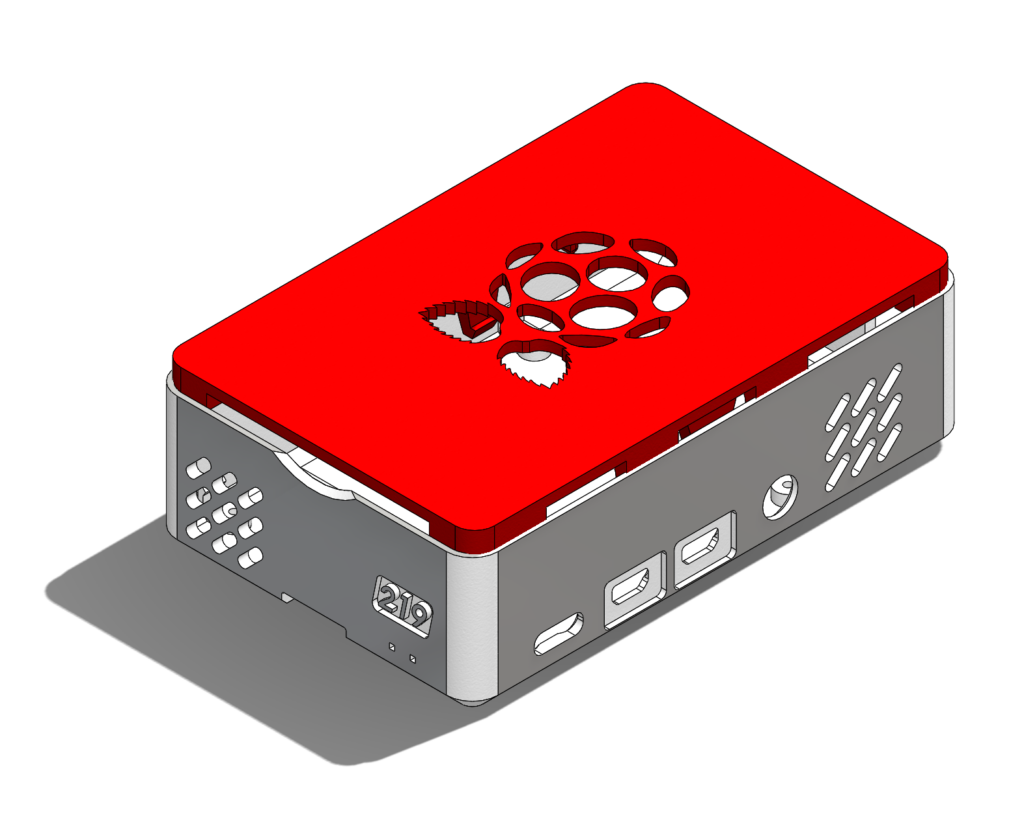
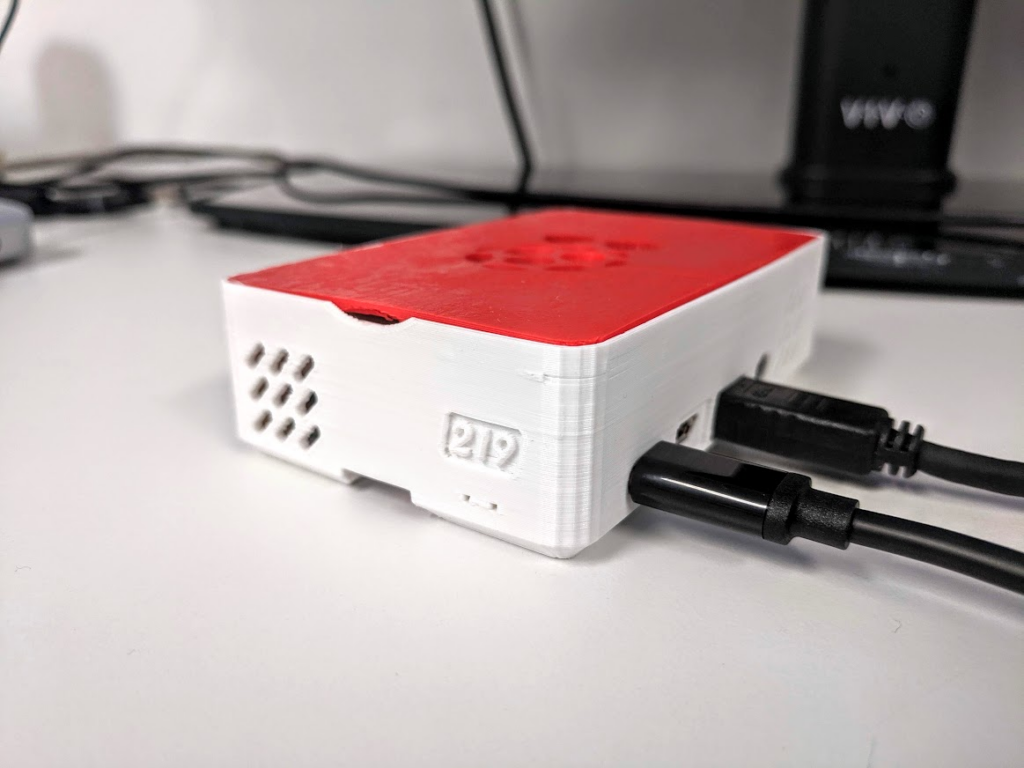
- Desktop Mode: If the Raspberry Pi 4 is primarily used as a PC, then the lid can fit flush to the shell of the case for a sleek, enclosed cooling module.
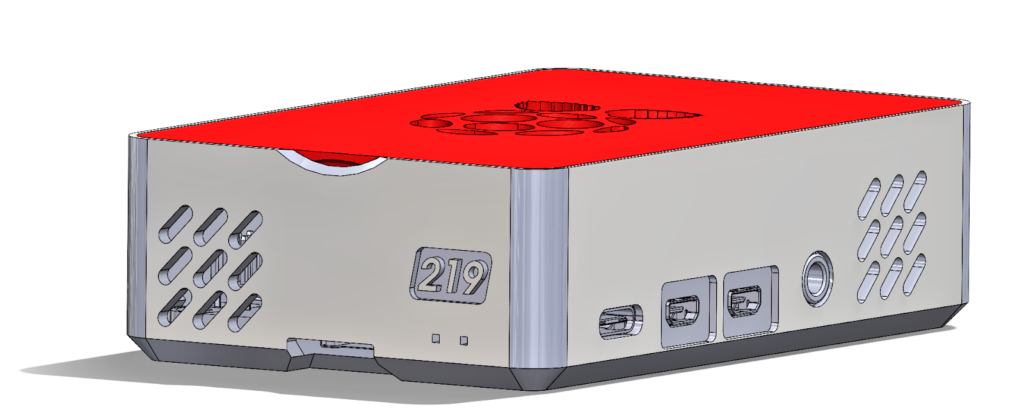
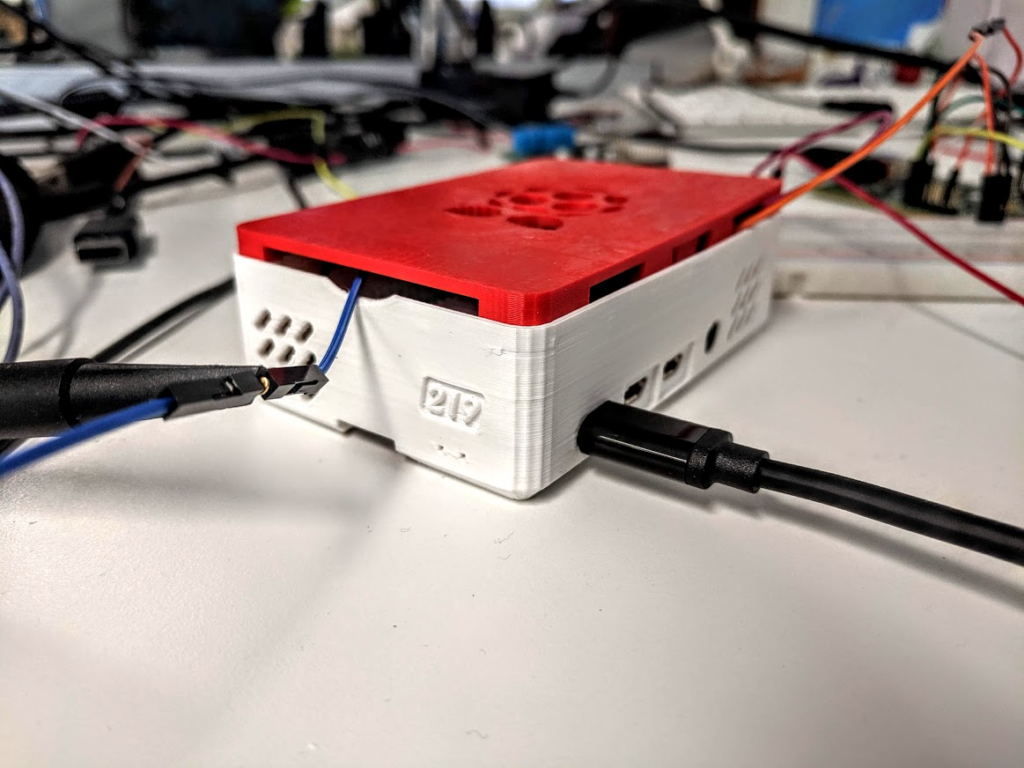
- Development Mode: If you are going to use the Raspberry Pi as a development board, like you would an Arduino, then you’ll want easy access to the board’s pins. The lid can be spun 180 degrees and will stand off the bottom shell, leaving a gap for wires, but still protecting and cooling the board.
Feature: Snap Fits
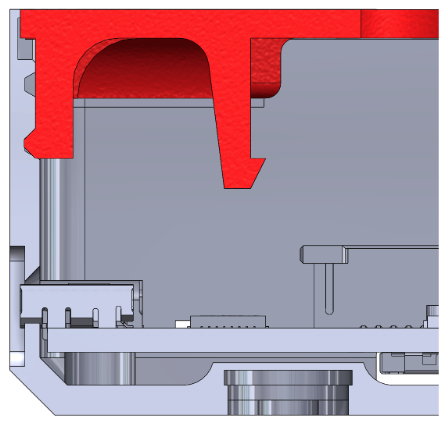
After experimenting with a few geometries, we settled on cantilever snap fits for both the base-to-lid and the fan-to-lid connections. To keep the snaps from shearing off where they meet the lid, which is particularly likely due to the layering of FDM printers, we added a fillet and widened the snaps’ base. For more on snap-fits, check out BASF’s guide.
These snaps eliminate the need for fasteners or hinges. Because our in-house 3D printer has just fine enough resolution to make the snaps, the details add nearly no extra cost to the manufacture of part.
Feature: Minimal Size
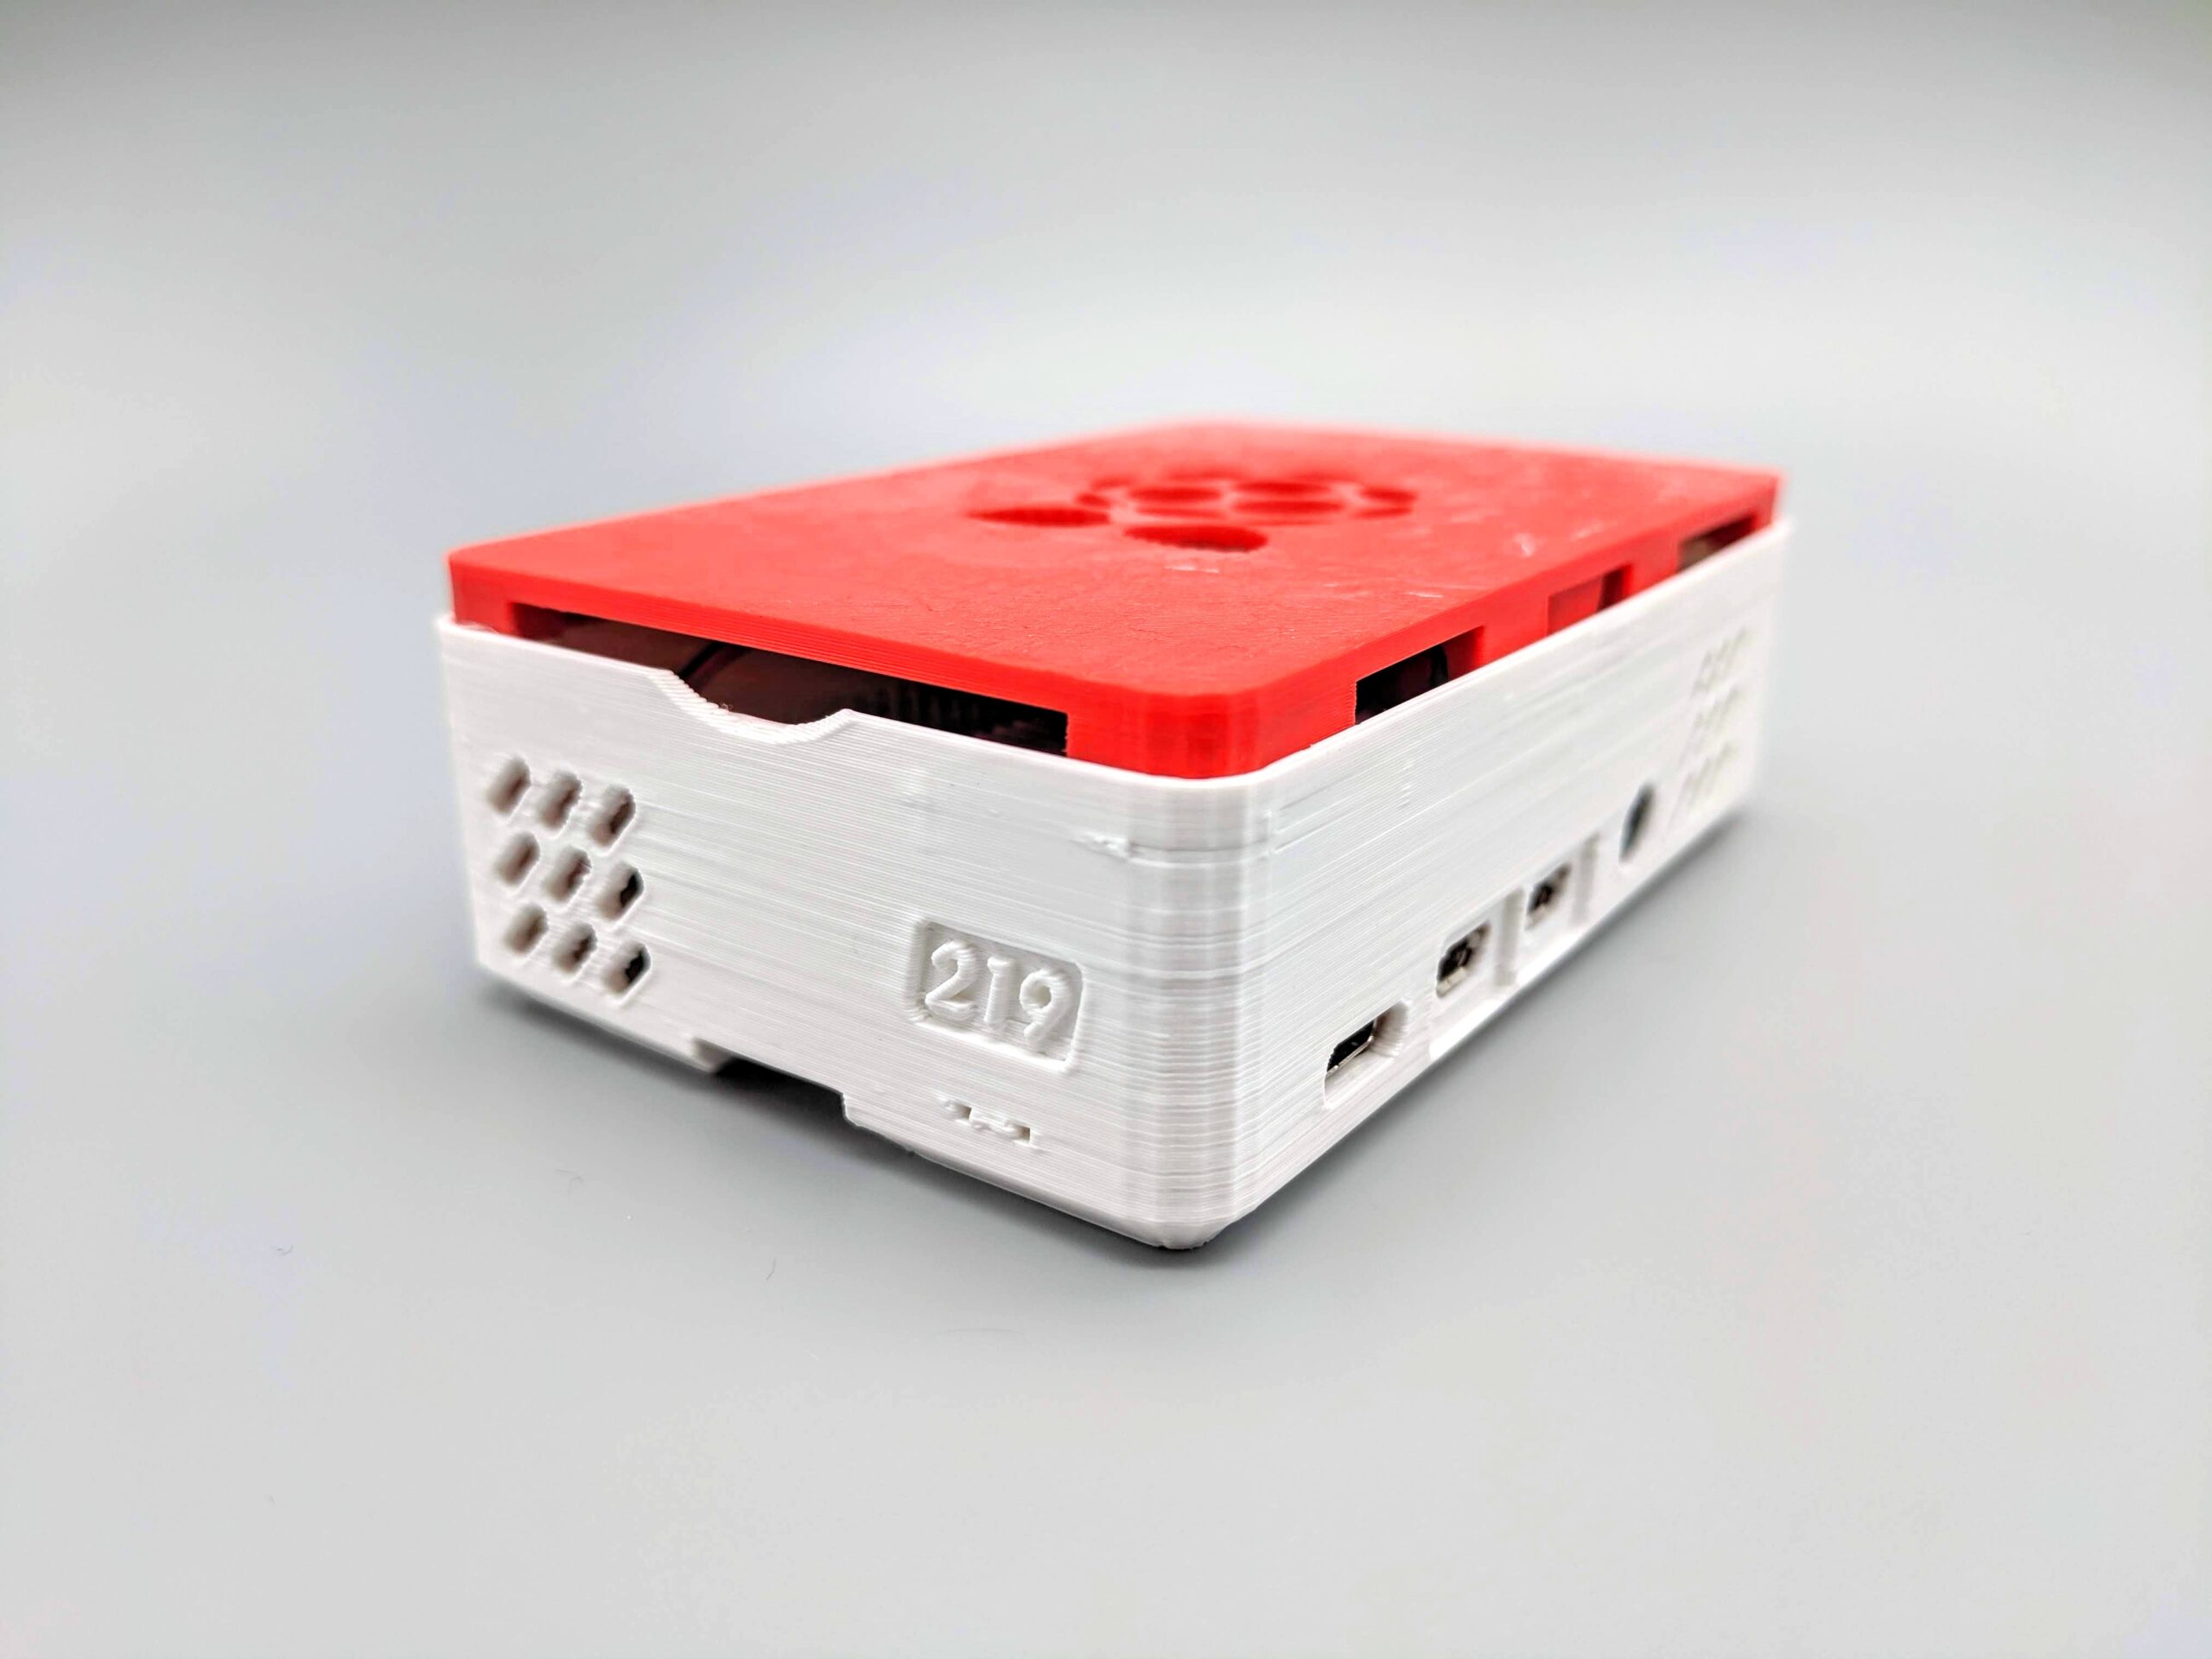
The envelope of the case is just barely large enough for the Pi 4, which minimizes its footprint on your desk.
- The width has only space for the HDMI ports to slide into their sockets and the other side to snap into place.
- We added an extra 2mm in depth on the SD card side so that the Pi board can be removed with a SD card inserted. We accidentally pried off the SD card housing from one of our Pi’s before adding this gap.
- In desktop mode, the height barely clears the pins of the Pi fan, and flipping to development mode leaves a dialed-in 1mm gap for wires.
Feature: Keeping Cool
In addition to the design touches, our 219 case successfully serves the primary function of cooling a Pi 4. As seen in the figure above, equipped with our 3D printed case and an inexpensive Pi fan, the Raspberry Pi 4 stays well cooler than the throttling limit during our stress tests. Also note, the Pi stayed cool without heatsinks. Save a few bucks and skip the heatsinks!
Benefits of 3D Printing
Prototyping this case with 3D printers allowed:
- customized snaps
- flexibility to make pockets for the wall mount
- freedom to quickly explore many small features.
Follow us on LinkedIn or Facebook so you don’t miss future posts!
If you want to accelerate your development and reduce costs, contact us!